This repository is based on Low-Cost-Mocap by jyjblrd. It has been reduced to the tracking ability, removing the drone flying controls, as well as fixing and simplifying the calibration procedure.
The tracked markers and objects are sent via osc.
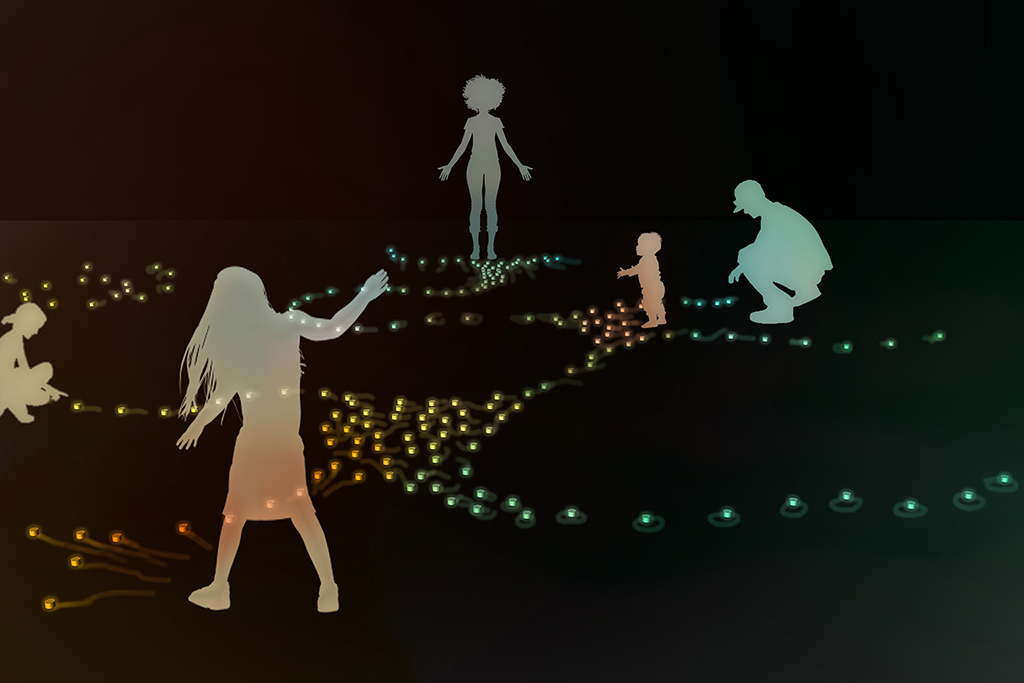
For the robotic swarm artwork with the working title "Interconnected - Interactive robotic swarm" by Katrin Hochschuh and Adam Donovan the tracking of their robotic creatures is one of the major subjects in order to create a system of human - machine interaction.
| concept visualisation | robot prototype |
|---|---|
 |
 |
© Images by Hochschuh&Donovan
In their previous project "Empathy Swarm" the swarm robots are tracked by one single top down camera with a visible light filter, while each of the robots has three active infrared leds. As the audience is allowed to enter the same area as the robots, occlusion of the robots is one of the issues as well as the size of the tracked area which is defined through the mounting height of the top-down camera.
In order to extend the size of the tracked area and to eliminate the problem of occlusion and the loss of tracking, the Low Cost Mocap project has been further evolved.
This code has been developed as part of the project "Interconnected" in cooperation with the Theater Dortmund, the Academy for Theatre and Digitality and the Kulturforum Witten. The project is funded by the Ministry of Culture and Science of North Rhine-Westphalia as part of New Arts Ruhr / Neue Künste Ruhr.
Tested with two Daheng Imaging MER2-202-60GC-P GigE Cameras.
The camera exposures need to be setup, that the tracker markers appear as bright round spots.
Markers can either be bright LED's in a dimmly lit room or IR LED's and IR Pass filters on the cameras.
It is also possible to use retro reflective markers and IR LED ring around each camera lens.
Tested on Python 3.12.6. Requirements see backend/requirements.txt When using Daheng Imaging Cameras, the SDK is needed: https://va-imaging.com/collections/software-development-kit-daheng-imaging-cameras
Optional: Inside backend directory create a python venv and install the requirements.
Then run the backend with python3 api/index.py.
To specify the host ip and port for the api controls, use -i or --ip and -p or --port . Default 0.0.0.0:3001.
OSC tracking data is sent to --osc-ip on port --osc-port . Defaults to 127.0.0.1 port 3002.
The backend is modified to store all calibration data and points captured for calibration. Therefore a simplified frontend only needs to display the camera stream and trigger the api endpoints.
To run it, open simpleFrontend/index.html.
Camera calibrations are stored per camera inside backend/camera-params/.json
To create a calibration file capture multiple photos of a checkerboard pattern. The pattern size is defined with CHECKERBOARD in cameraCalibration.py. A 10 by 7 checkerboard has 11x8 boxes (and 10x7 intersections). Use Checkerboard-A4-25mm-10x7.pdf as example. Measure the size of the squares and enter the distance in CHECKERBOARD_SQUARESIZE, unit Meters. To create a different sized checkerboard you can use this tool: https://markhedleyjones.com/projects/calibration-checkerboard-collection.
To help capture images, you can use the simple frontend. Start the backend (index.py), then start the camera stream from the frontend. The button "Save Image Stills" saves an image of all connected cameras to the folder "saved-images" as _n.jpg. Make sure the pattern is well lit and visible.
To calculate the camera calibration run python cameraCalibration.py <cameraname>. The calibration file is saved in camera-params as <cameraname.json>.
With the backend running and the simple frontend opened start the camera stream (Button "Start Camera Stream").
Click on "Start Capture" under "Capture Points Control" to start tracking markers (bright spots in the images). Markers are highlighted with a green circle in the Camera Stream preview. There should be only one marker per camera image visible.
With the capture running move one marker in the tracked spaces. At least two cameras need to see the marker.
When enough data is captured, hit "Stop Capture". To restart capturing points, just hit "stop" and "start" again. With capturing stopped click on "Calculate Camera Pose". This will determine the relative positions of the cameras.
Next, the world scaling needs to be set. Prepare two markers with a fixed distance of 0.15m (see backend/index.py function determine_scale, variable actual_distance). Click "Start Triangulation". One preview image now should show the epipolar lines going through the marker. If not, recalibrate the camera parameters.
Again, move the markers in space. Stop the marker capture with "Stop triangulation". The marker data collected between "Start Triangulation" and "Stop Triangulation" are used to determine the world scale. Click on "Determine Scale".
To have the XY Plane match the room floor, start capturing one marker with "Start Triangulation". Move this marker on the floor inside the visible area. Then "Stop Triangulation" and click "Acquire Floor".
After the floor orientation is set, the origin needs to be specified. Put one marker where the origin should be placed. Click "Start Triangulation", wait one second until the marker has been captured, then "Stop Triangulation". "Set Origin" sets the last captured marker as the origin.
With the calibration done and the Camera Stream still running, start the marker capture with "Start Triangulation". Now all marker positions with their id are sent over osc "/marker" in the format (id,x,y,z) [int,float,float,float].
"Start Object Location" will also enable the tracking of objects. An object has 3 markers in specific locations. This data is then also sent over osc at "/object" in the format (id,pos.x,pos.y,pos.z,vel.x,vel.y,vel.z,heading) [int,float,float,float,float,float,float,float].
From the frontend directory Run yarn install to install node dependencies
Then run yarn run dev to start the webserver. You will be given a url view the frontend interface.
During the first part of the "Interconnected" artist residency at the Academy of Theatre and Digitality in Dortmund, the Academy's Optitrack Motion Capture system has been examined. In order to learn from the professional system for the Low Cost Mocap system, the idea is to create a distributed system by creating units of a camera with a dedicated low-cost computer and to submit the results over OSC to a main program on a more powerful computer which combines the data as in the current version of the code. To keep costs low, the first attempt is to use a combination of a Raspberry Pi and a Raspberry Pi Global Shutter camera to do the detection of IR markers (currently tested at a frame rate of 30 fps). This should enable the increase of the number of tracking cameras and thus a bigger tracked area with taking advantage of the parallel computation to not influence the performance/frame rate of the main tracking program too much. Additionally also different cameras should be able to be combined easily with each camera specific code being implemented on the Raspberry Pi or any other matching machine.
Updates on the tracking system of "Interconnected" can be expected between June and December 2025.