
Visible watermarks, repeating layouts, natural blend modes, personalized batches, and invisible trace IDs for iOS, Android, and Web.

Compose text and image layers, keep their render order under control, and export the finished image on iOS, Android, or Web.
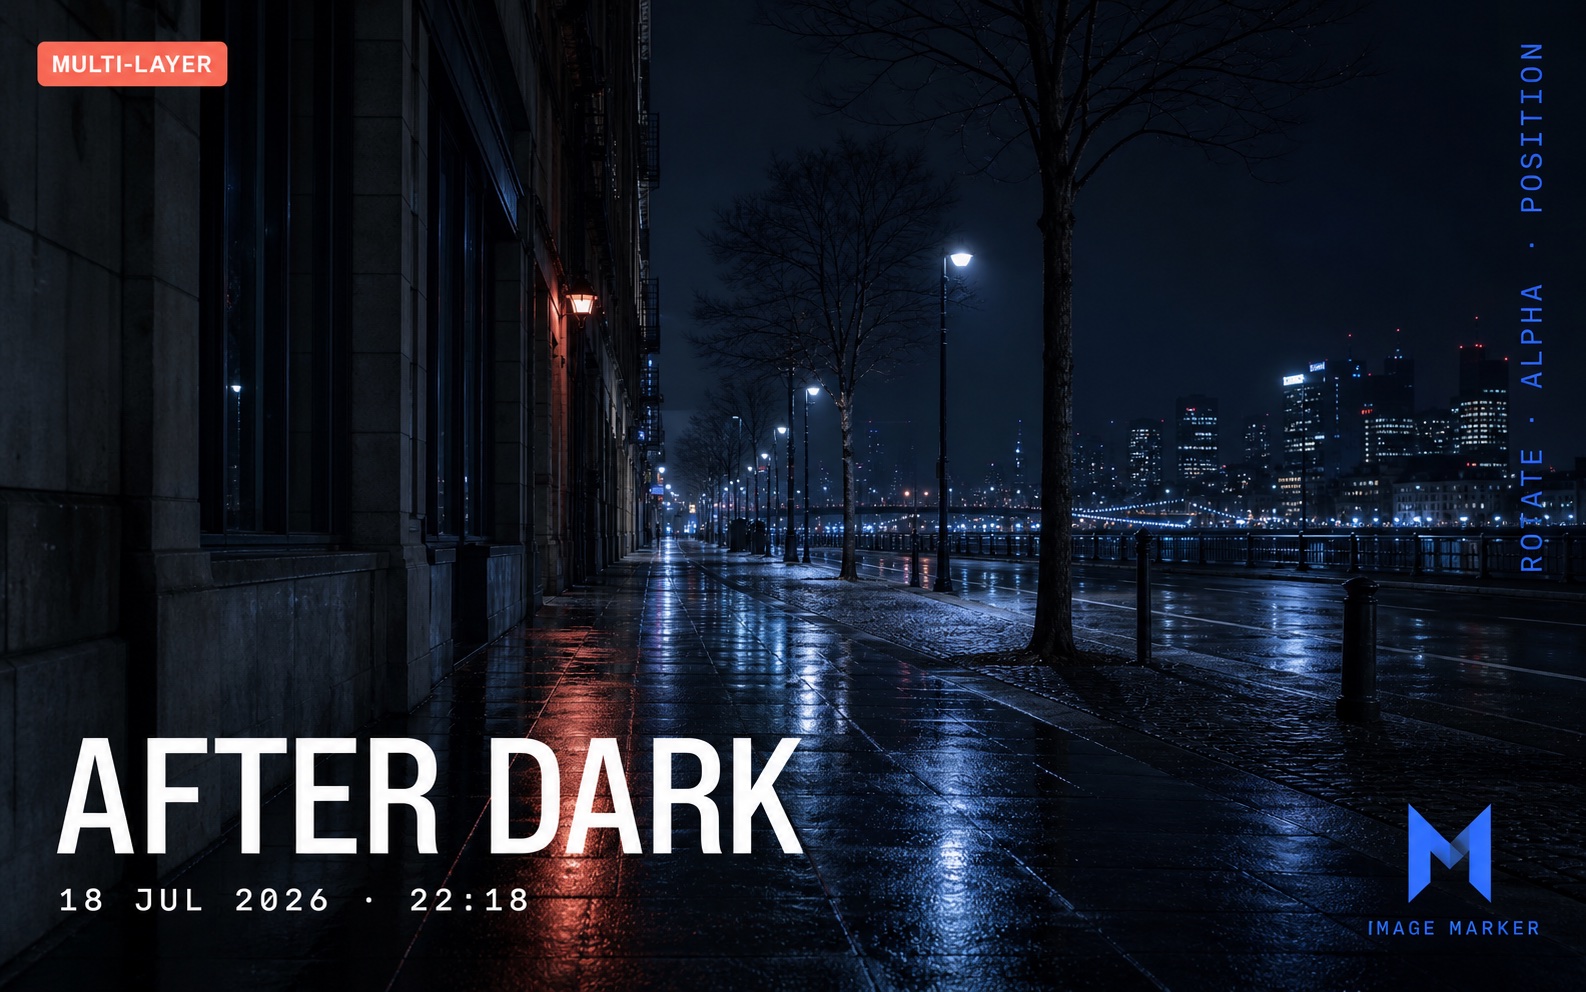
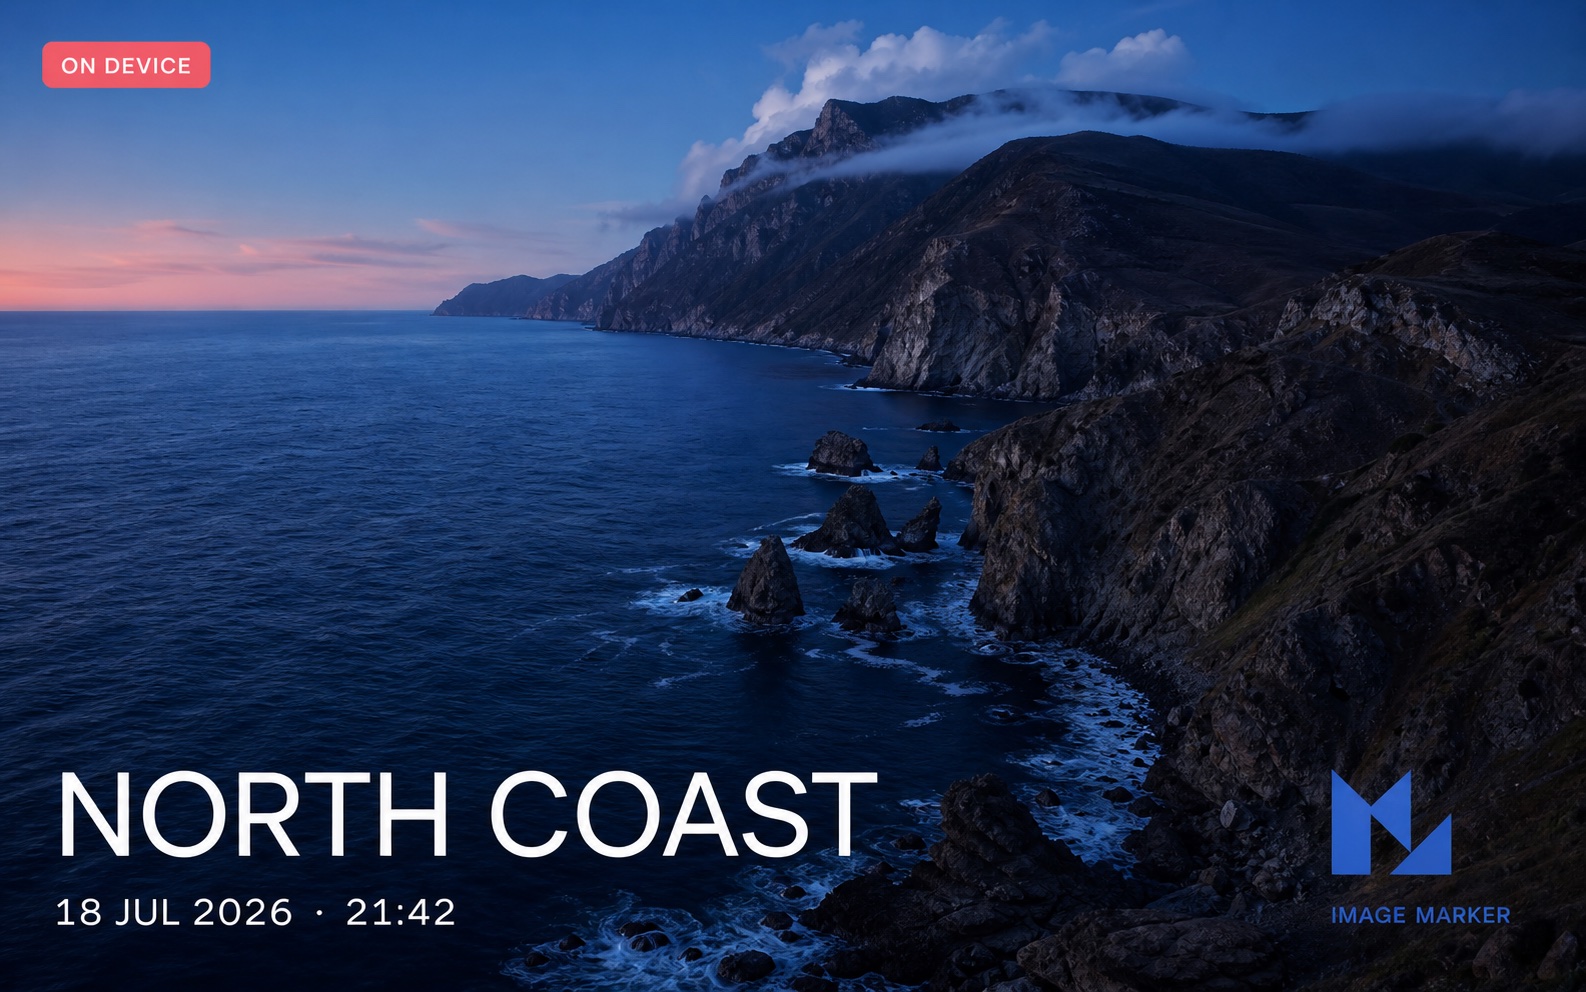
|
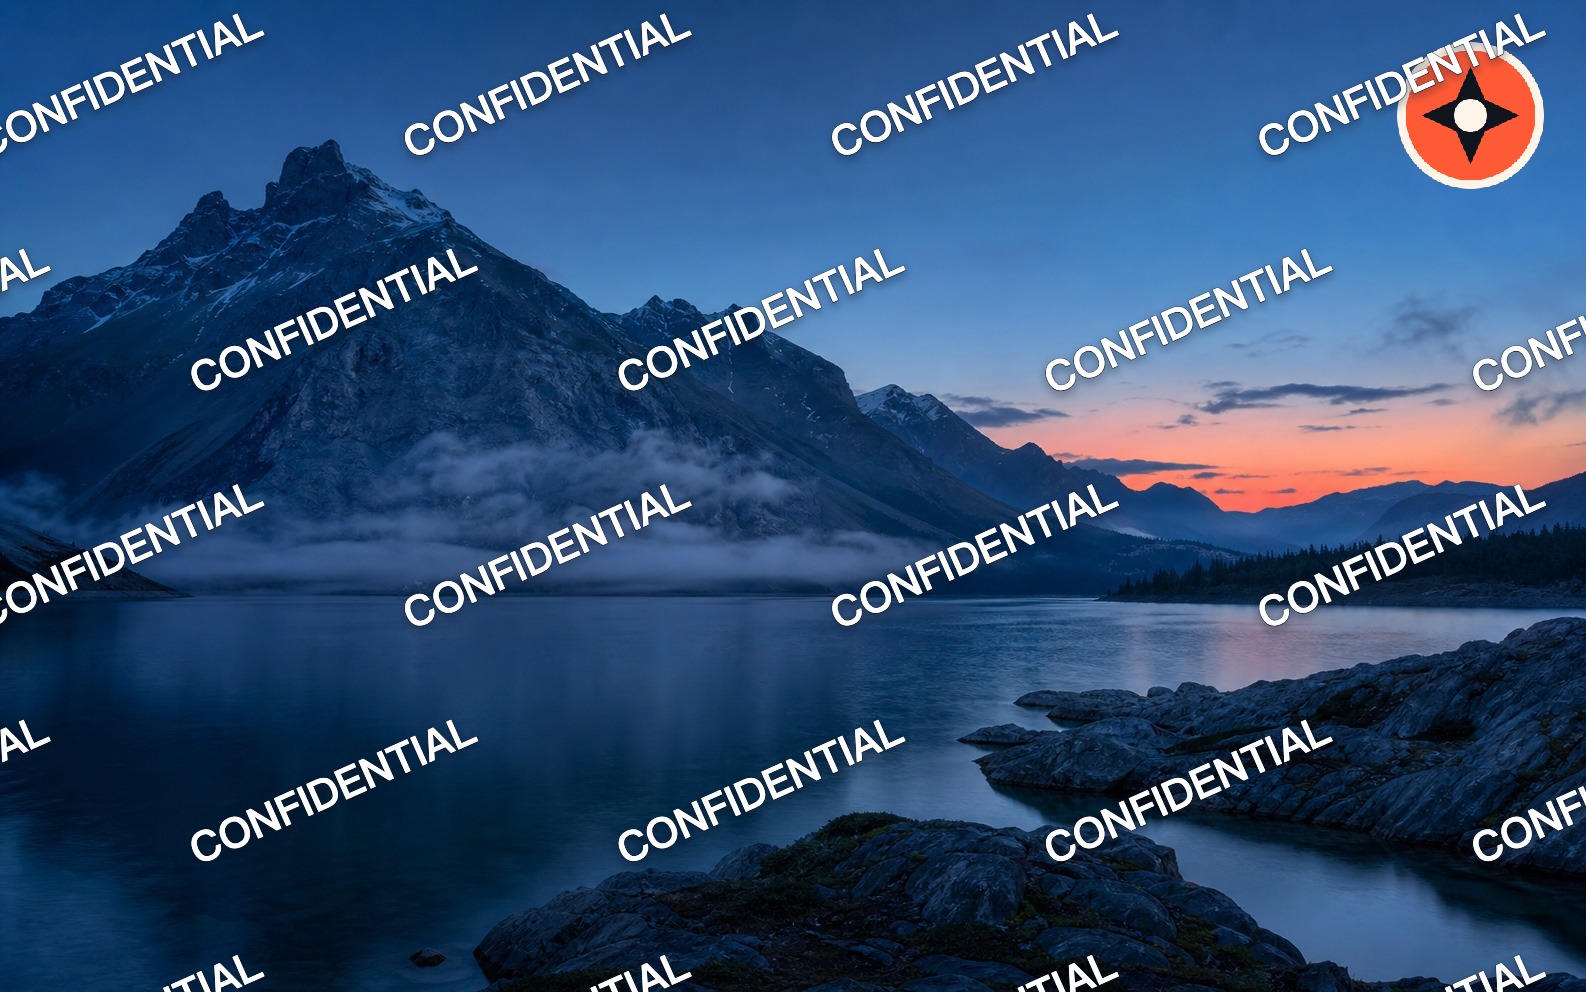
|
| Ready to share. Add titles, metadata, badges, and your logo in one export. |
Protect the whole image. Repeat outlined text or logos with rotation, spacing, and staggered rows. |
npm install react-native-image-markerInstall iOS pods and rebuild the native app:
npx pod-installExpo projects must use a development build because this package's native code is not bundled with Expo Go. See the Expo installation steps.
import Marker, { ImageFormat, Position } from 'react-native-image-marker';

const result = await Marker.markText({
  backgroundImage: {
    src: require('./images/background.jpg'),
  },
  watermarkTexts: [
    {
      text: '© Acme Studio',
      alpha: 0.85,
      position: {
        position: Position.bottomRight,
        X: 24,
        Y: 24,
      },
      style: {
        color: '#FFFFFF',
        fontSize: 28,
      },
    },
  ],
  filename: 'marked-photo',
  saveFormat: ImageFormat.jpg,
  quality: 92,
});
On iOS and Android, JPEG and PNG calls resolve with a native cache-file path. On Web, every format resolves with a browser-ready data URL; native ImageFormat.base64 also returns a PNG data URL.
The same layout and strokeStyle options work on iOS, Android, and Web. Tiled layers can use pixel or percentage gaps and stagger every second row.
const result = await Marker.markText({
  backgroundImage: { src: require('./images/background.jpg') },
  watermarkTexts: [
    {
      text: 'CONFIDENTIAL',
      alpha: 0.55,
      layout: {
        type: 'tile',
        gapX: '8%',
        gapY: '7%',
        offsetX: '-2%',
        stagger: true,
      },
      style: {
        color: '#FFFFFF88',
        fontSizeRatio: 0.024,
        rotate: -24,
        strokeStyle: { color: '#0F172A88', width: 2 },
      },
    },
  ],
  saveFormat: ImageFormat.jpg,
  quality: 92,
});
Use the same layout object on watermarkImages to repeat a logo. A tiled layer cannot also set position; invalid combinations fail with a clear error.
Set blendMode on a text or image layer when a plain overlay looks too flat. The same six modes—normal, multiply, screen, overlay, darken, and lighten—work on iOS, Android, and Web.
const result = await Marker.mark({
  backgroundImage: { src: require('./images/background.jpg') },
  watermarks: [
    {
      type: 'image',
      src: require('./images/logo.png'),
      blendMode: 'multiply',
      position: { position: Position.center },
      scale: 0.7,
      alpha: 0.85,
    },
    {
      type: 'text',
      text: 'SCREEN LIGHT',
      blendMode: 'screen',
      position: { position: Position.bottomCenter, Y: 32 },
      style: { color: '#FFE9B8', fontSize: 36, bold: true },
    },
  ],
  saveFormat: ImageFormat.png,
});Save ordered layers once, then inject safe string, number, or boolean variables for each image. Templates also expose {{index}} and {{filename}}; visibleWhen can include or skip a layer without rebuilding the recipe. Results stay in input order, and one failed image does not stop the others.
const recipe = Marker.createRecipe({
  schemaVersion: 1,
  watermarks: [
    {
      type: 'text',
      text: '© {{studio}} · {{filename}} · #{{index}}',
      position: { position: Position.bottomRight, X: 24, Y: 24 },
      style: { color: '#FFFFFF', fontSize: 28 },
    },
    {
      type: 'image',
      src: require('./images/logo.png'),
      visibleWhen: { variable: 'showLogo', equals: true },
      position: { position: Position.topRight, X: 24, Y: 24 },
      scale: 0.25,
    },
  ],
  saveFormat: ImageFormat.jpg,
  quality: 90,
});

const controller = new AbortController();
const results = await recipe.applyMany(
  photos.map((src, index) => ({
    backgroundImage: { src },
    filename: `photo-${index + 1}`,
    variables: { studio: 'Acme Studio', showLogo: index % 2 === 0 },
  })),
  {
    concurrency: 2,
    signal: controller.signal,
    onProgress: ({ settled, total }) => console.log(`${settled}/${total}`),
  }
);

const savedRecipe = JSON.stringify(recipe.toJSON());
On Web, request Blob results explicitly when processing many files without Data URL expansion:
const blobRecipe = Marker.createRecipe(recipeOptions, {
  resultType: 'blob',
});
const blob = await blobRecipe.apply({ backgroundImage: { src: file } });
Blob mode is Web-only and does not create object URLs. The caller controls URL.createObjectURL() and URL.revokeObjectURL() when a preview is needed.
embedInvisible writes a short authenticated locator into the final pixels without adding a visible layer. detectInvisible recovers it later with the same key. The *Many methods create and verify recipient-specific copies while preserving input order. Use random asset or distribution IDs—not names, email addresses, or other personal data.
const key = await loadWatermarkKeyFromTrustedStorage();
const marked = await Marker.embedInvisible({
  image: { src: require('./images/background.jpg') },
  payload: 'asset-42', // 1–12 UTF-8 bytes
  key, // at least 16 UTF-8 bytes
  strength: 'robust',
  saveFormat: ImageFormat.png,
});

const detection = await Marker.detectInvisible({
  image: { src: { uri: marked } },
  key,
  strength: 'robust',
  search: 'robust',
});

if (detection.detected) {
  console.log(detection.payload, detection.confidence);
}
For distribution batches, call Marker.embedInvisibleMany(inputs, { concurrency, signal, onProgress }) and Marker.detectInvisibleMany(inputs). Robust detection covers limited crops and tested 0.9×–1.1× resize hypotheses; a successful resized detection reports scale.
This Beta feature is designed for distribution tracing, not DRM or proof that an image was never edited. JPEG recompression, mild pixel adjustments, and light resizing are covered by the browser test matrix; aggressive crops, resizing outside the tested range, blur, redrawing, and deliberate removal can destroy the mark. Browser code cannot keep a long-lived secret, so production Web workflows should embed on a trusted server or use tightly scoped keys.
For signed provenance, Marker.embedInvisibleWithCredentials() composes the locator with an application-supplied Content Credentials adapter. The optional Node.js C2PA service example keeps the official C2PA runtime and signing material outside the core package. See the invisible watermark guide for the security and C2PA boundaries.
Try the live playground to compose visible layers or embed and verify an invisible trace ID entirely in your browser. Images stay local.
The Web renderer accepts URL strings, { uri }, data URLs, Blob, File, and loaded browser images. In Expo Web, resolve a numeric bundled asset first:
import { Asset } from 'expo-asset';

const background = Asset.fromModule(require('./images/background.jpg'));
const webSource = { uri: background.uri };
Browser Canvas and native graphics stacks share the API and positioning model but are not guaranteed to be pixel-identical. Fonts, decoding, antialiasing, and JPEG encoding can differ.
| Method | Use it for |
|---|---|
Marker.markText |
One or many text layers |
Marker.markImage |
One or many logo, icon, or image layers |
Marker.mark |
Ordered text and image layers in one render pass |
Marker.createRecipe |
Reusable, personalized batch workflows |
Marker.embedInvisible |
Write an authenticated short trace ID |
Marker.detectInvisible |
Recover and verify an invisible trace ID |
Marker.embedInvisibleMany / detectInvisibleMany |
Process ordered trace batches |
Marker.embedInvisibleWithCredentials |
Add a signed provenance adapter workflow |
Layers render in array order, so later layers draw over earlier layers. markText and markImage remain supported; use mark when mixed layer order matters.
- iOS 13 or newer
- Android API 24 or newer
- Modern browsers with Canvas 2D / React Native Web
- React Native New Architecture support since library v1.3.0
- Legacy bridge fallback
- Expo development builds through native autolinking
- CI coverage for RN 0.73 legacy/new architecture, RN 0.86 New Architecture, and Expo SDK 57 / RN 0.86
See the full compatibility guide when maintaining an older React Native app.
- 简体中文文档
- Installation
- Live playground
- Guides
- Visual cookbook
- Invisible trace watermarks
- Troubleshooting
- API reference
- React Native example — full Image Marker Lab and architecture status
- Expo example — native development-build workflow plus a dedicated React Native Web entry
- C2PA service example — optional Node.js signing and verification adapter
See CONTRIBUTING.md for the development and release workflow.