Oolite is an open source Elite clone on steroids. While it can run just like the original but on modern computers it can also be vastly modified through Oolite Expansion Packs.
- Homepage: https://oolite.space/
- Wiki: https://wiki.alioth.net/index.php/Oolite_Main_Page
- Forum: https://bb.oolite.space/
- Documentation: https://oolite.readthedocs.io/


| Windows | Linux | OSX |
|---|---|---|
 |
 |
|
 |
 |
OSX is not supported for v1.92 |
 |
 |
|
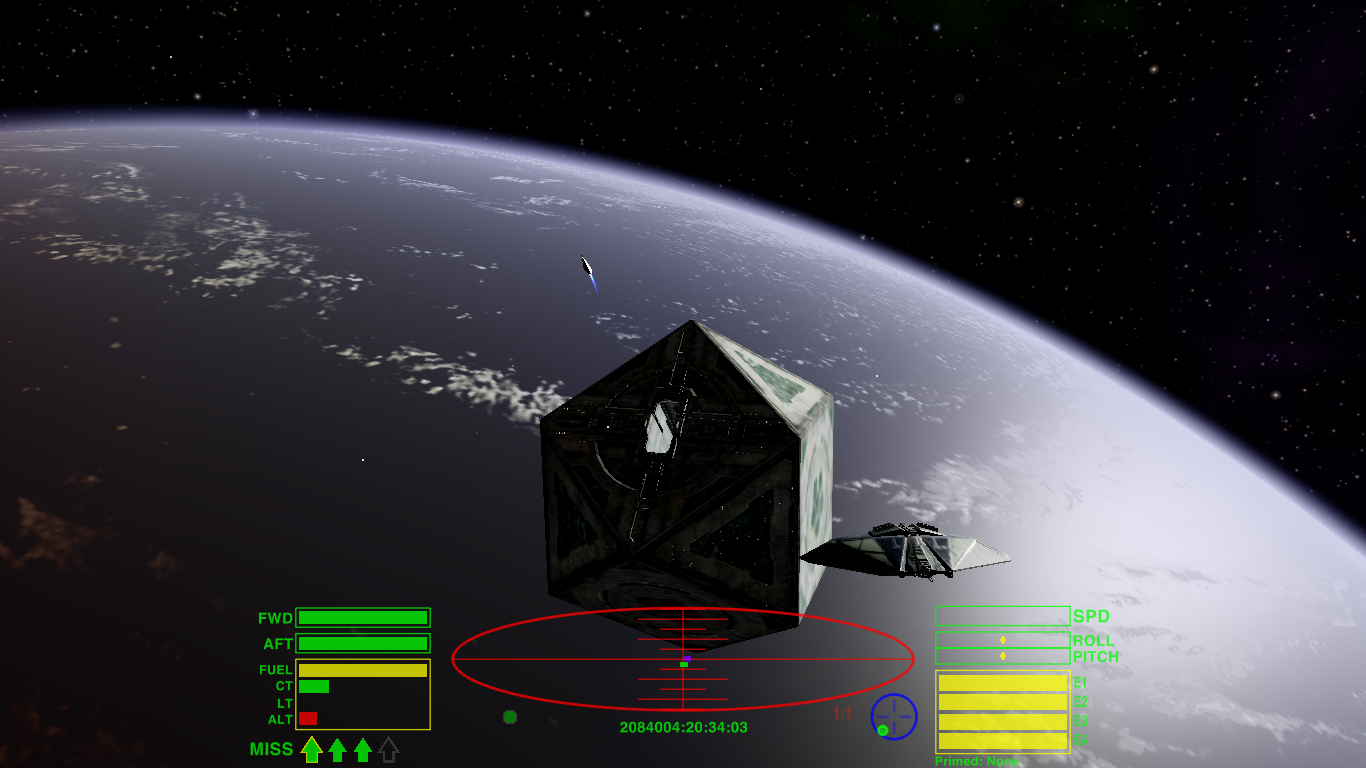
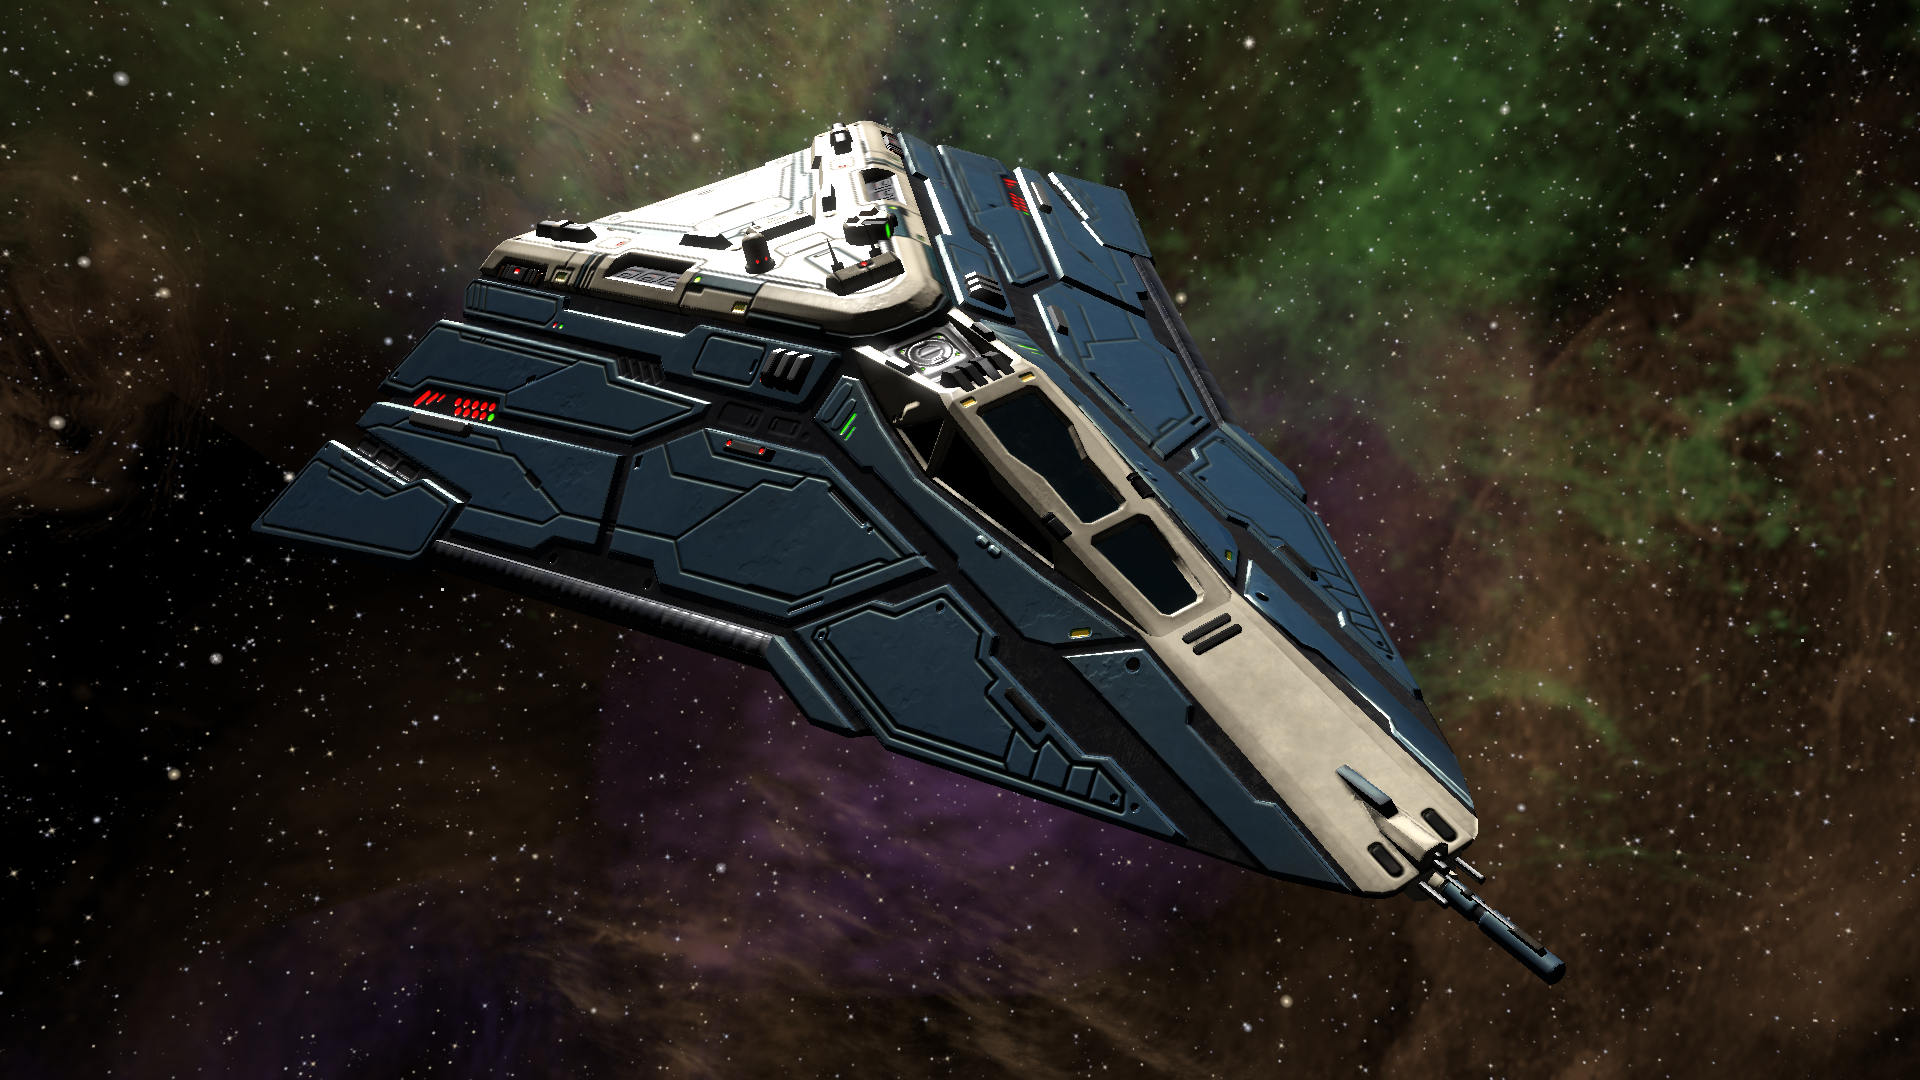
Oolite can be heavily customized via expansions. These modify the gameplay, add ships, improve graphics - the possibilities are almost endless:
Please join the Oolite Bulletin Board, a friendly community of Oolite fans and developers!
You can download the latest version from here.
The Windows NSIS installer is named OoliteInstall-XXX-win.exe where XXX is a version number.
Double click the downloaded file to run the installer.
Linux has Flatpak and AppImage versions. The Flatpak is named space.oolite.Oolite_XXX.flatpak
where XXX is a version number. Many Linux package managers support Flatpak so you should be able to
double click the downloaded file to install it.
The AppImage is named Oolite_XXX-x86_64.AppImage where XXX is a version number. Download this
file to where you would like it stored, ./mk.sh it executable and run, for example by typing
chmod +x Oolite_XXX-x86_64.AppImage
./Oolite_XXX-x86_64.AppImageInformation about playing Oolite can be found here.
For more information, see also oolite.space and Elite Wiki.
We welcome developers to work on Oolite! If you wish to build the project from source, please follow the instructions below. Note that the scripts require sudo for activities like installing dependent libraries built from source and for installing packages on some Linux distros. If you run into difficulties, you can seek help on the Oolite Bulletin Board.
API documentation is available here.
The Oolite source is available from GitHub. The first step is to install git if you don't already have it installed as it is required to obtain and build Oolite. With Git installed, check out the Oolite repository:
git clone --filter=blob:none https://github.com/OoliteProject/oolite.git
cd ooliteAfter installing git and checking out the Oolite repository, double click Run Me
in ShellScripts/Windows or run in a command prompt:
ShellScripts\Windows\setup.cmdThis will install MSYS2 which provides various MinGW environments. You will need to enter the install location for MSYS2 and whether you want the Clang build (recommended) or GCC build.
The Clang build uses the UCRT64 environment, while the GCC build uses the MINGW64 environment.
After installing git and checking out the Oolite repository, run the following to install required packages (you can replace sudo with other methods that escalate privileges if you prefer):
sudo ShellScripts/Linux/install_packages_root.shNext run the following to build the GNUstep libraries needed by Oolite:
ShellScripts/Linux/build_gnustep.shRun the following to install the Mozilla JavaScript library needed by Oolite:
ShellScripts/Linux/install_mozilla_js.shBy default, the above two commands will install to $HOME/.local, but you can supply an argument system or build to specify /usr/local or the project build folder respectively. When installing to /usr/local, sudo is used by default, but you can supply a further argument to specify an alternative like doas.
The underlying build system is Meson, but it is recommended to build via the mk.sh script which also allow you to pass meson setup, compile, configure and install flags. Type the following for help:
./mk.sh helpOolite has various build types:
- "dev": Keeps debug symbols in the binary.
- "deployment": Intended for production builds. Removes debug symbols from the binary, but makes them available in a separate symbols file.
- "test": Used for test releases; supports the debug console, which expansion developers use to debug their OXPs. Removes debug symbols from the binary, but makes them available in a separate symbols file.
You can run this in your Bash or MSYS2 prompt to build Oolite for development:
./mk.sh build devOptionally you can pass --setup-flags and/or --compile-flags to pass specific options to meson. The completed build
(executable and games files) can be found in the build/meson_dev/oolite.app directory.
build dev runs 2 actions which can be run independently: setup dev which runs meson setup and compile dev which runs
meson compile.
If for some reason the build fails, you can try cleaning the build folder first, although meson should not usually require this step:
./mk.sh clean devYou can run a test of the development build that launches the game and takes a snapshot from your Bash or MSYS2 prompt as follows:
./mk.sh test devYou can modify build options of the build directory (such as --prefix):
./mk.sh configure dev --configure-flags="<FLAGS>"You can install the build folder:
./mk.sh install devOptionally you can pass --install-flags to pass specific options to meson.
This action builds an AppImage for development which can be found in the build folder:
./mk.sh pkg-appimage devThis action builds a Flatpak which can be found in the build folder:
./mk.sh pkg-flatpak deploymentThis action builds a Windows NSIS installer for development which can be found in the build folder:
./mk.sh pkg-win devIntel-based Macs can run old builds of Oolite, but current Macs are unsupported. It is hoped that they can be supported in future.
Oolite is written in Objective-C although there is also some C and C++ code in the codebase. It was originally coded on Mac, but was ported to Windows and Linux by way of the GNUstep runtime which provides a similar API to what is available on Mac. Objective-C is supported by modern IDEs like CLion and Visual Studio Code. The language can be easily picked up by programmers familiar with C or C++ with which it is interoperable.
Oolite for all platforms can be built from this repository. Here is a quick guide to the source tree.
- DebugOXP: Debug.oxp, the expansion pack that enables console support in debug and test release builds
- Doc: Documentation (including user guides)
- ShellScripts: Scripts to build from source on Windows and Linux
- installers: Files used to create various installers
- Resources: Game assets and resource files for Mac and GNUstep application bundles
- Schemata: Plist schema files for the OXP Verifier
- src: Objective-C and C sources, incuding header files
- Cocoa: Files that are only compiled on Mac OS X
- Core: Files that are compiled on all platforms
- SDL: Files that are only compiled for platforms that use SDL
- tests: A mixed bag of test cases for manual testing and ad-hoc code tests.
- tools: Various historical tools for preparing files.